Using Keybase for SSH with gpg-agent on macOS
While password authentication is the default method most SSH (Secure Shell) clients use to authenticate with remote servers, there’s plenty of potential security vulnerabilities with this approach. For this reason, many servers are configured to accept public key authentication as an alternative method of verifying identity.
Without explaining how the process works in detail, normally you would generate an RSA key-pair to use with SSH and this file will be stored on your local machine in ~/.ssh/. You then pass this key to your SSH client when connecting to remote servers that have a copy of your public key in their authorized_keys file and login without needing to type a password. You can further automate this by using the ssh-agent process to provide your key automatically when initiating an SSH session. This simplifies the process of logging into remote servers while protecting your user credentials, however managing these keys can quickly become a frustration when you have to use many servers across different environments.
A useful alternative to managing SSH keys is to instead use a GPG key for authenticating SSH sessions. The main benefit of this approach is that you don’t need to manage different sets of keys for authentication and signing/encryption as both can belong to the same keyring. Where this really shines is when you use your Keybase client as your GPG credential manager so you can quickly and easily manage your keys wherever you need them.
Before you begin #
This guide assumes you have:
- an existing Keybase account
- the Keybase client installed on your local machine
- a remote server with SSH key-based authentication enabled
Installing GPG #
Before we can make use of GPG keys on your local machine, we need to install a variant of GnuPG.
My preferred method is to use the Homebrew package manager to quickly install the command line version. If you haven’t got Homebrew on your Mac yet, check out my Getting Started with Homebrew guide before continuing.
brew install gnupg
Getting your Keybase GPG key #
The next step is to get a copy of your Keybase GPG key and add it to your local keyring. If you don’t already have a GPG key, you can create one using the command below and following all the prompts. Your Keybase profile page will show if you have a GPG key or not.
keybase pgp gen --multi
If you generate a new key-pair using the command above, it will automatically add it to the local GPG keychain. However, if you have an existing key that is stored on Keybase, you’ll want to export that now instead. You’ll be prompted for your Keybase password in order to export the key from your account.
keybase pgp export | gpg --import
keybase pgp export --secret | gpg --allow-secret-key-import --import
Now check the details of your GPG keyring:
gpg --list-keys --keyid-format SHORT

# Output
/Users/username/.gnupg/pubring.kbx
-------------------------------
pub   rsa4096/00D026C4 2017-04-09 [SC] [expires: 2021-04-09]
      85E38F69046B44C1EC9FB07B76D78F0500D026C4
uid         [ unknown] {Your Name}
sub   rsa4096/DBCBE671 2017-04-09 [E] [expires: 2021-04-09]
Your GPG key from Keybase is preconfigured with a master key and a subkey to allow encrypting messages and files (you’ll see it in the output marked [E]), however in order to use it for SSH autentication, we first need to generate a second authentication subkey.
pub line, so in this example our key ID is 00D026C4.Generating an authentication subkey #
To generate an authentication subkey, enter the following command, substituting KEYID for the ID you noted down in the previous step.
gpg --expert --edit-key KEYID
You should now be presented with a screen that shows your key details and a new gpg> command prompt. At this prompt enter:
addkey
You’ll now be prompted to select the type of key you want to add. Select
(8) RSA (set your own capabilities)by entering 8 and pressing Return.Now we need to tell GPG which actions we would like this subkey to perform. By default it selects both the sign and encrypt actions, so we need to toggle both of these off, and then toggle authentication on.
Press S then Return to toggle the Sign action off
Press E then Return to toggle the Encrypt action off
Press A then Return to toggle the Authenticate action on
The output should now read
Current allowed actions: Authenticate, with nothing else listed on that line. If it doesn’t, toggle the options using the keys above until only ‘Authenticate’ is listed. Then press Q then Return to continue.
When asked for a key size, enter
4096and press Return.You’ll now have to enter an expiration date for your subkey. It’s a good idea to set this to the same expiration date of your master key as if you pick an earlier date, your key will stop functioning for authentication on that date. Enter whatever expiration date you’d like using the options on the screen and then press Y then Return.
Finally you’ll be asked if you’re ready to create
Really create? (y/N)and you can continue by pressing Y then Return.
You’ll now be returned to the summary screen that will show your key with a new subkey listed. You’ll see it has usage: A which means this is an authentication subkey.
pub  4096R/00D026C4  created: 2017-04-09  expires: 2021-04-09  usage: SC
                     trust: ultimate      validity: ultimate
sub  4096R/DBCBE671  created: 2017-04-09  expires: 2021-04-09  usage: E
sub  4096R/48B9C23C  created: 2019-10-24  expires: 2021-04-09  usage: A
At the gpg> prompt, enter quit and press Y then Return to save your changes.
Push your updated key to Keybase #
Now that you’ve updated the local copy of your GPG key, you need to push these changes to Keybase so they have a copy of the new subkey.
keybase pgp update
Now that we have the key set up and ready to go, we just have to tell our shell how to use it.
Configure GPG Agent #
At the start of this post, I mentioned that you can automate the process of providing an SSH key using ssh-agent, but unfortunately this agent doesn’t understand how to handle GPG keys. Thankfully there’s a GPG process called gpg-agent that acts as a bridge between your GPG keyring and ssh-agent so we’re going to set up that part next.
We first need to update the GPG agent configuration to tell it we want to use SSH authentication by adding enable-ssh-support to ~/.gnugp/gpg-agent.conf:
echo enable-ssh-support > ~/.gnupg/gpg-agent.conf
Next we need to configure the shell to start the gpg-agent process and set the SSH_AUTH_SOCK environment variable. If, like me, you’re using the fish shell you need to create a new file ~/.config/fish/conf.d/gnupg.fish and copy the following contents:
# Start or re-use a gpg-agent
gpgconf --launch gpg-agent

# Ensure that GPG Agent is used as the SSH agent
set -e SSH_AUTH_SOCK
set -U -x SSH_AUTH_SOCK ~/.gnupg/S.gpg-agent.ssh
If you’re using bash as your shell you’ll have to make equivalent changes to your ~/.bash_profile file. Otherwise, now’s a great time to consider Switching to Fish Shell! 🐠
Quit and start a new shell session and you should have a gpg-agent process running and your SSH_AUTH_SOCK variable should be set. You can verify this with the gpg-agent command and checking the output.
If the agent is running correctly, you should now be able to access your GPG key through the normal SSH commands. Type the following and you should see your GPG key listed as a possible authentication key:
ssh-add -L
If you’ve previously used SSH key-based authentication you’ll see your existing id_rsa key(s) listed but you should also have a new entry that ends in (none).
If it’s not listing any keys, it’s likely that the gpg-agent hasn’t started correctly. Double check the steps above, otherwise if you get an error message you might need to run the following command to tell the GPG agent to use the correct TTY shell.
gpg-connect-agent updatestartuptty /bye
Once your key is showing correctly, you’re ready to SSH! 🎉
SSH to a Remote Host #
The best part about gpg-agent is that it allows you to use all the normal SSH commands. So if you want to copy your new GPG SSH key to your remote host, all you need to do is use the ssh-copy-id command as you would normally.
ssh-copy-id username@remotehost
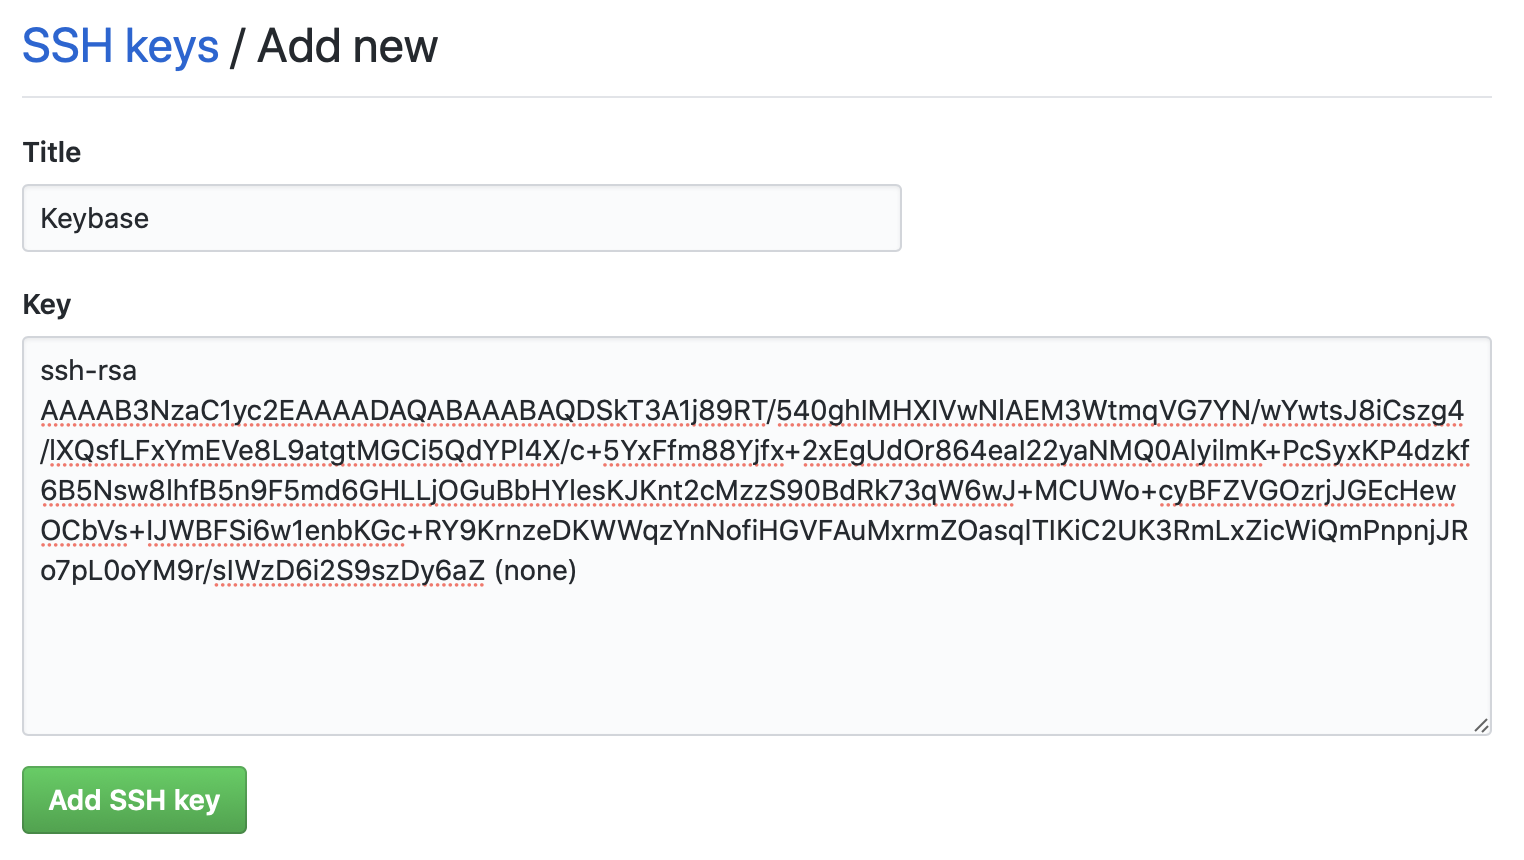
You should also export a copy of your public key by copying the output text from the ssh-add -L command and saving it to a file, for instance ~/keybase.pub. Be sure to copy all the text including ssh-rsa to the final (none).
On your remote host you can then paste this information into the ~/.ssh/authorized_keys file or copy the file to the remote machine and use the following command:
ssh username@remotehost "echo `cat ~/keybase.pub` >> ~/.ssh/authorized_keys"
Now that you’ve got key-based SSH authentication running, you should disable password authentication on your remote host in order to get the security benefits. I won’t go into details on how to do that here but Digital Ocean have a great guide that explains the process.
SSH to GitHub #
This GPG SSH key can also be used anywhere else SSH authentication is accepted, including GitHub.
To enable this, simply go to your GitHub Settings page, select SSH and GPG keys, give your key a name and paste the key from the ~/keybase.pub you created above.
Once you add your SSH key to GitHub you can test if it’s working:
ssh git@github.com

Hi {Name}! You've successfully authenticated, but GitHub does not provide shell access.
Connection to github.com closed.
If you want to take this even further, you might like to read how you can sign your GitHub commits using your GPG key. But for now that’s it. This was a long post, but now you can quickly and easily establish SSH connections in a secure way and Keybase will manage the syncing of your keys to whichever local machines you choose.